Getting started
Installation
Plone Mosaic is installed just like any other Plone add-on by activating it at the Add-on control panel.

After Plone Mosaic has been installed, everything should look normal. Yet, each page can now be made to render through the Plone Mosaic composition chain as described soon. If something breaks just by installing Plone Mosaic, it’s probably a bug and it should be reported as such.
Mosaic layout
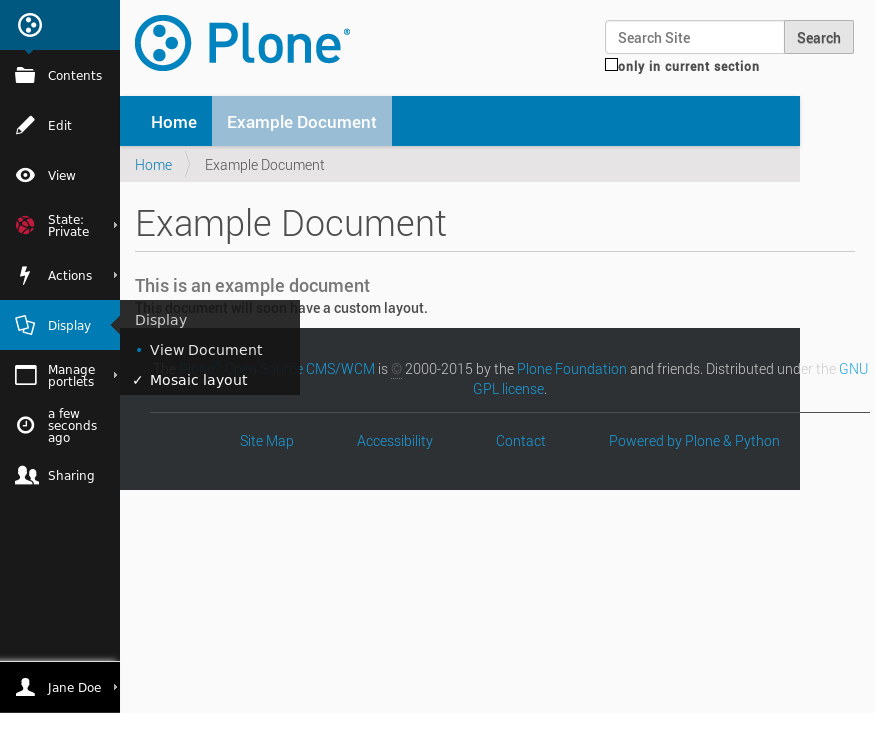
The most prominent feature provided by Plone Mosaic is the new Layout-behavior, which appears as new Mosaic layout option in the familiar display menu.

How the current content looks after the first time the Mosaic layout is activated, depends on the configured defaults for its portal type. Still, at least the title and the description should be always displayed.
Mosaic editor
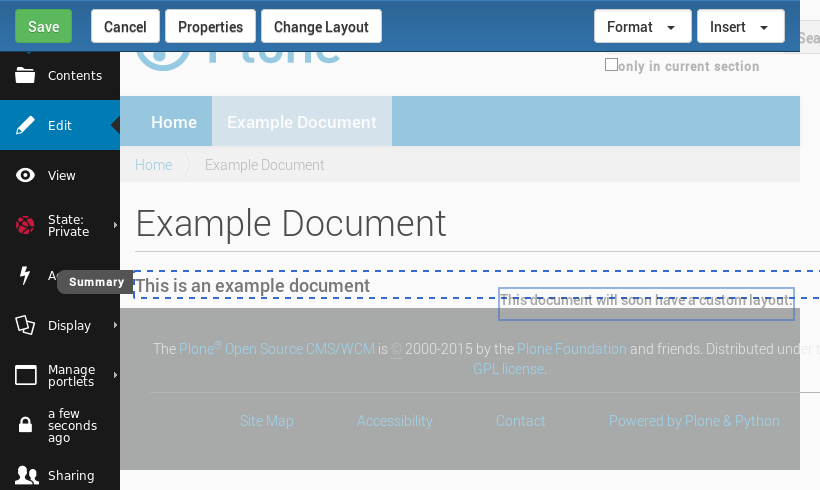
When the Mosaic layout has been enabled, the Mosaic editor is opened by clicking the Edit tab.

When the editor is opened for the first time, it asks to the select the initial layout for the content:
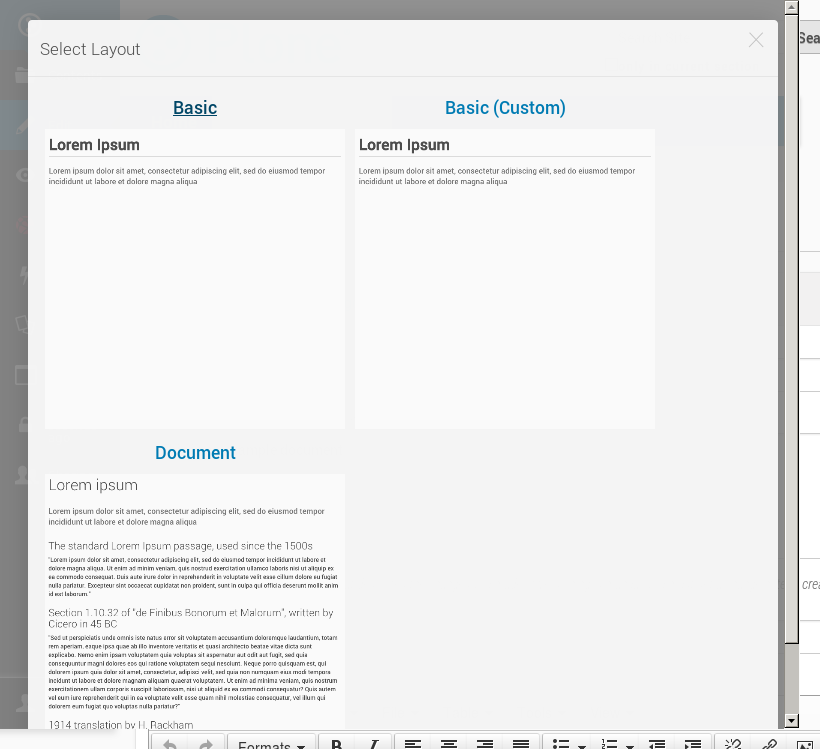
The selected layout can then be used as it is, or make it fully custom.
Let’s select the basic layout:

And then enable it for customization:

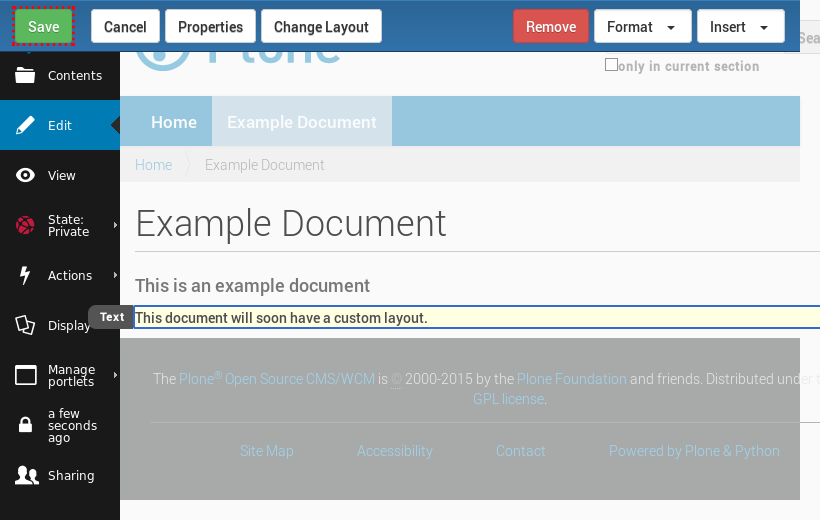
To add a new tile in the Mosaic editor, select the tile from the rightmost menu

and drag the appearing tile into the desired position.
Finally, a mouse click drops the tile into selected position and the page can be saved.
That’s how we can build custom content layouts using Plone Mosaic.
